Quick answer: How to keep your cat worm free
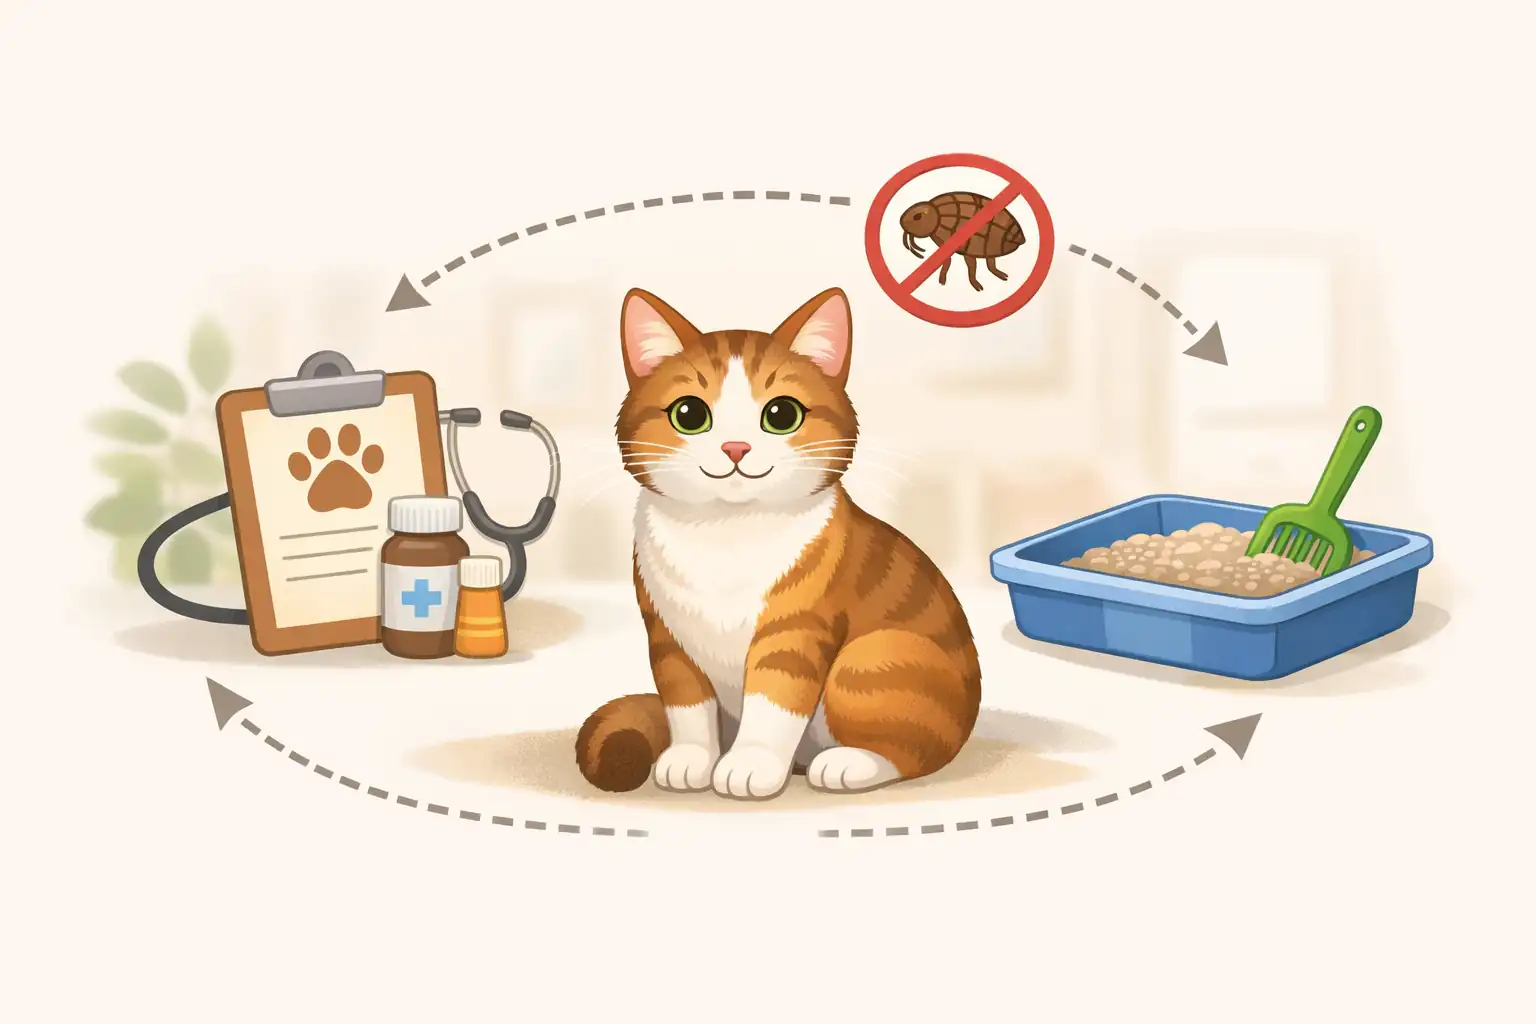
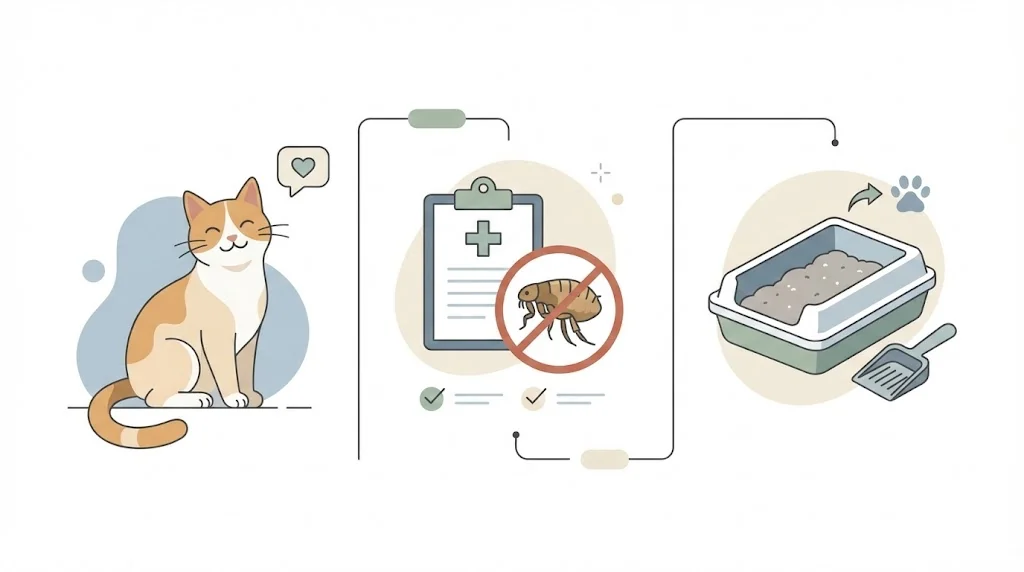
Most cats stay worm-free when you follow a risk-based routine: use a vet-recommended parasite plan, prevent fleas year-round (tapeworm prevention), scoop litter daily, and reduce hunting/rodent exposure. This page gives a practical checklist and a simple schedule you can follow.
Worm-Prevention Checklist (60 seconds)
Pick your risk level (indoor-only vs outdoor/hunter/multi-pet)
Follow a vet plan (prevention meds and/or scheduled deworming + fecal tests)
Use flea control year-round (key for preventing tapeworm)
Scoop litter daily + clean the box weekly
Reduce hunting & pests (rodents/insects can raise exposure risk)
Protect people: wash hands after litter/soil; dispose of waste safely
Formatting tip: keep it to 6 bullets. Don’t add long explanations here—save them for the sections below.
Risk quick pick (choose one)
Low risk: indoor-only, no fleas, no hunting
Higher risk: outdoor access, hunting, fleas, multi-cat home, shelters/rescues
Then add one sentence: If your cat is higher risk, your vet may recommend more frequent testing and/or broader prevention than an indoor-only cat.
Introduction: Cat Worm Prevention (What Works)
Worm prevention works best when it’s routine + risk-based: the right parasite prevention products, consistent flea control, good litter hygiene, and fewer chances to eat infected prey or fleas. Veterinary guidelines emphasize tailoring parasite control to your cat’s lifestyle (indoor vs outdoor, hunting, multi-pet homes) and using fecal exams when appropriate.
Below is a step-by-step prevention plan you can follow today. If you do just three things: (1) follow a vet-guided prevention schedule, (2) prevent fleas year-round to reduce tapeworm risk, and (3) scoop the litter box daily, you’ll cut the most common routes of infection dramatically.
How cats get worms (and how to block each route)
Cats usually pick up worms through a few predictable routes:
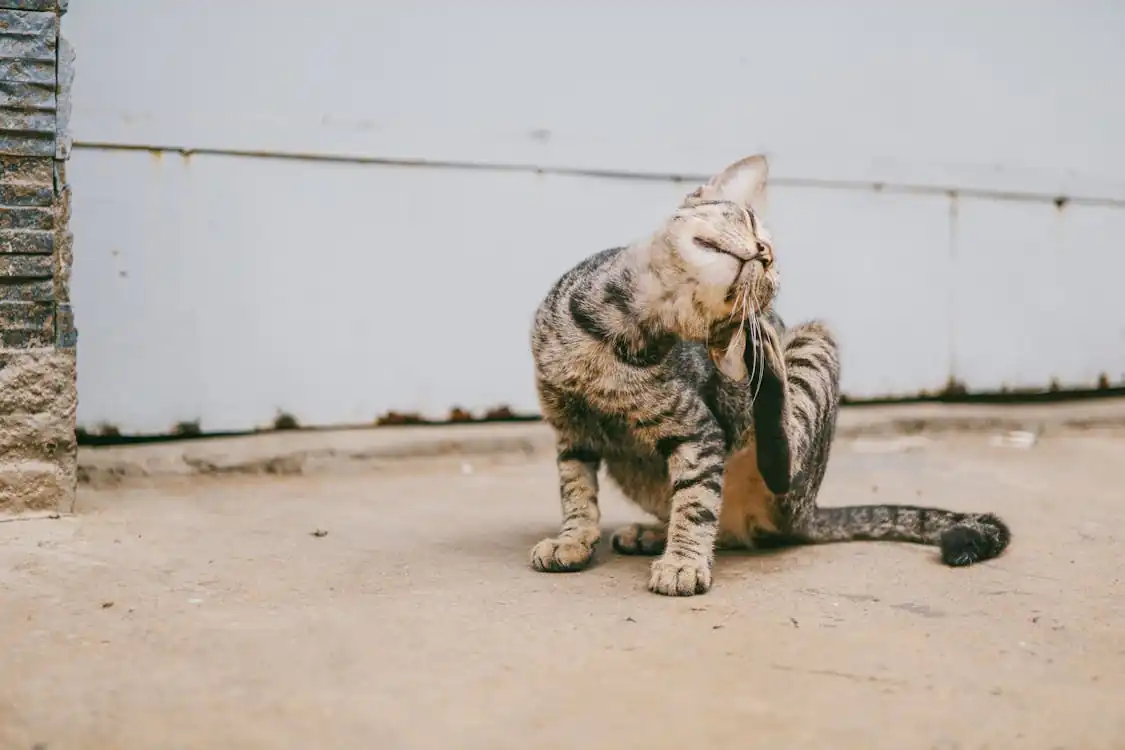
Swallowing infected fleas while grooming → a common tapeworm route (Dipylidium).
Ingesting eggs from contaminated litter/soil/feces → roundworms (Toxocara) are a classic example; eggs can take 1–4 weeks in the environment to become infective.
Eating prey (hunting) or pest exposure → some parasites are acquired through rodents and other carriers.
Kittens can be exposed via mother’s milk in some cases (risk varies by situation).
Takeaway: stay worm-free by blocking the route that matches your cat’s lifestyle—flea control, daily litter hygiene, less hunting/pest exposure, and a vet-guided prevention plan.
How to Prevent Worms in Cats (Step-by-Step Prevention Plan)
Preventing worms in cats is about breaking the parasite life cycle: reduce exposure (fleas, prey, contaminated feces/soil), remove eggs quickly (litter hygiene), and follow a risk-based prevention routine your vet recommends. Use the steps below as a simple system—start with the highest-impact habits first, then layer in the rest.
These steps focus on prevention (not diagnosis). If you suspect your cat already has worms, you’ll want a vet exam and appropriate treatment—this section is designed to help you avoid getting to that point.
Follow these steps in order—each one blocks a common way cats pick up worms.
Step 1: Set a prevention schedule (deworming + fecal tests) based on risk
Why this prevents worms: Most “worm problems” are repeat exposures. A risk-based routine (preventives, fecal tests, and deworming when appropriate) stops infections early and prevents reinfection cycles.
Do this (checklist)
Pick your cat’s risk level: kitten, outdoor/hunter, multi-pet household, indoor-only.
Ask your vet whether your plan should be routine prevention (monthly products that cover key parasites) or fecal testing + treat as needed.
If you have a kitten, follow the vet’s kitten deworming series and keep visits on schedule.
If your cat hunts, plan for more frequent parasite coverage.
Put reminders in your calendar for prevention doses and fecal checks.
Quick risk guide
Kittens | follow a vet-guided deworming series + checkups. |
Outdoor/hunting adults | parasite coverage year-round; consider more frequent checks. |
Indoor-only low-risk adults | vet-guided plan; often fecal checks + targeted treatment. |
Avoid these mistakes
Using a “one-size-fits-all” schedule without considering hunting/fleas/other pets.
Skipping follow-ups after deworming (reinfection is common if exposure stays).
Assuming monthly flea prevention automatically covers all worms (it depends on product).
If your cat is…
Indoor-only: focus on flea prevention + litter hygiene + vet-guided fecal testing.
Outdoor/hunter: treat exposure as ongoing; tighten schedule and pest control.
Kitten: do not “wait and see”—start early with vet guidance.
Kittens (early + often)
Many common protocols start around 2–4 weeks of age and repeat every ~2 weeks through early kittenhood.
Then, kittens often transition to monthly coverage until ~6 months (your vet may adjust based on weight, exposure, and local risk).
Why it matters: kittens can carry parasites without obvious signs; early routines reduce household contamination risk.
Adult cats (high-risk: outdoor/hunting/fleas)
If your cat hunts or has regular outdoor exposure, guidance commonly suggests more frequent parasite control—often every 1–3 months depending on risk and product coverage.
If you use a year-round broad-spectrum preventive (covers relevant parasites), your vet may modify or reduce separate “interval deworming.”
Practical rule: higher exposure = tighter schedule (especially if fleas are not perfectly controlled).
Indoor-only cats (lower-risk)
Risk is lower, but not zero (fleas, insects, tracked-in soil can still introduce parasites).
Many vets use a plan that relies more on routine wellness checks + fecal testing and treatment as needed rather than frequent interval deworming.
Keep the message simple: follow your vet’s plan and don’t skip annual parasite evaluation/testing.
Deworming and fecal testing should be tailored to your cat’s risk (kitten vs adult, indoor vs outdoor, hunting, multi-pet home). Veterinary guidance emphasizes customizing parasite control to lifestyle and local risk—not a single universal schedule.
Risk-based worm prevention schedule
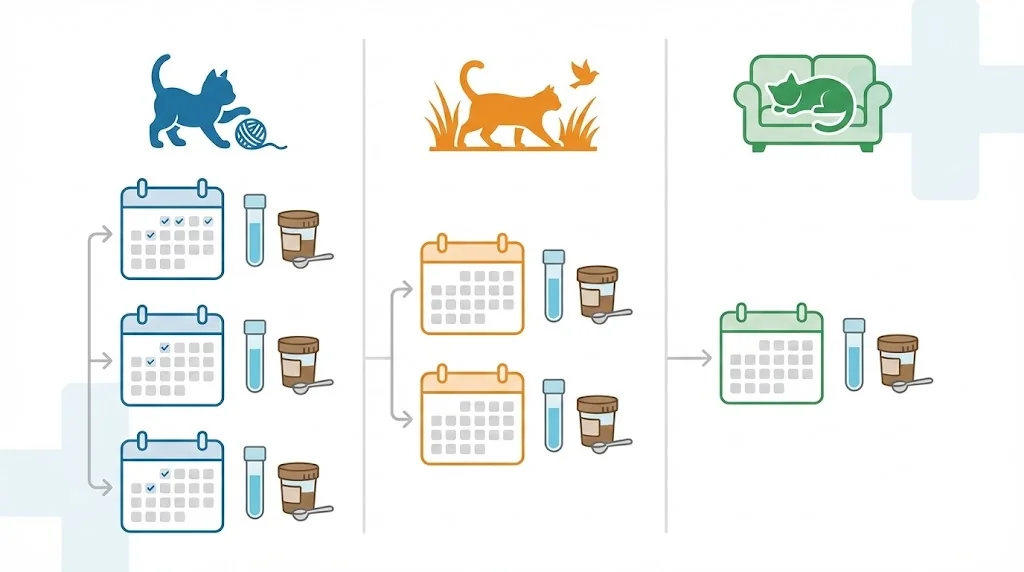
| Cat type | Risk factors | Common vet-guided approach (examples) |
|---|---|---|
| Kittens (up to ~6 months) | Can be infected early; higher exposure risk | Start deworming around 2–4 weeks and repeat every ~2 weeks through early kittenhood; then continue monthly until ~6 months (protocols vary). |
| Adult cats (high-risk) | Outdoor access, hunting, fleas, multi-pet homes | Parasite control is often more frequent; some guidance suggests treating every 1–3 months depending on risk and product coverage. |
| Adult cats (lower-risk indoor-only) | No hunting, consistent flea control | Often a vet-guided plan using periodic fecal testing and targeted treatment as needed; many guidelines still recommend at least annual parasite evaluation/testing. |
Important: This table is deliberately labeled “examples—confirm with your vet” so it stays trustworthy and compliant.
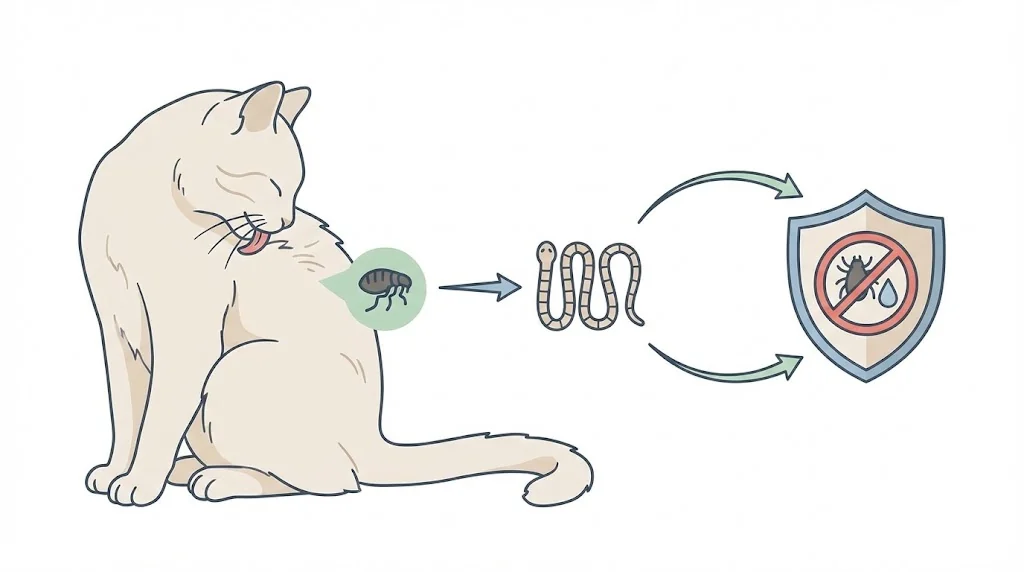
Step 2: Prevent fleas year-round (to prevent many tapeworm infections)
Why this prevents worms: Cats can get the common “flea tapeworm” (Dipylidium caninum) by swallowing an infected flea while grooming. That means flea control is a core worm-prevention step, not just a comfort issue.
Quick rule: Treat fleas first. Tapeworm treatment can remove current worms, but flea control prevents new infections.
Do this (flea-prevention checklist)
Use a cat-labeled, vet-recommended flea preventive on the schedule it requires (monthly, multi-month collar, etc.). Consistency matters more than “strongest product.”
If you have multiple pets, ask your vet if all pets should be treated—fleas move between animals and the home.
Keep prevention going through the seasons that matter in your area (many households need year-round coverage because fleas can persist indoors).
Add a quick weekly “spot check”: run a fine-toothed flea comb through the neck and tail base, and look for flea dirt (black specks that turn reddish-brown when wet).
Wash your cat’s bedding regularly and vacuum rugs/sofas—this helps reduce the flea life stages that live off the cat.
If your cat goes outdoors (extra exposure control)
Treat outdoor resting spots (clean bedding, minimize wildlife/stray animal contact if possible).
Keep grass/yard debris controlled where your cat lounges—fleas like protected areas.
Avoid these mistakes (important safety + trust)
Never use dog flea/tick products on cats—especially products containing permethrin, which can make cats seriously ill even in small amounts.
Don’t assume “flea collars are enough” unless they’re specifically labeled for cats and used correctly.
Don’t rely on DIY essential-oil sprays/collars—cats can be sensitive to many compounds, and this can reduce trust in your advice. (Keep prevention products cat-labeled and vet-guided.)
Don’t stop after you “don’t see fleas”—fleas can be present before you notice them.
If you already have fleas (use this 30-day reset plan)
Keep your cat on a vet-recommended flea preventive without gaps.
Vacuum floors/rugs/sofas frequently for 2–4 weeks; empty the vacuum contents promptly.
Wash bedding on hot cycle weekly.
If the infestation is heavy, ask your vet about coordinating environment treatment (home-safe options) so you’re not only killing adult fleas on the cat.
Natural flea control tip: using a fine-toothed flea comb on your cat daily can catch any stray fleas; dunk the comb in soapy water to kill any you find. Year-round flea control will not only keep your cat comfortable, it will drastically cut down tapeworm risk.
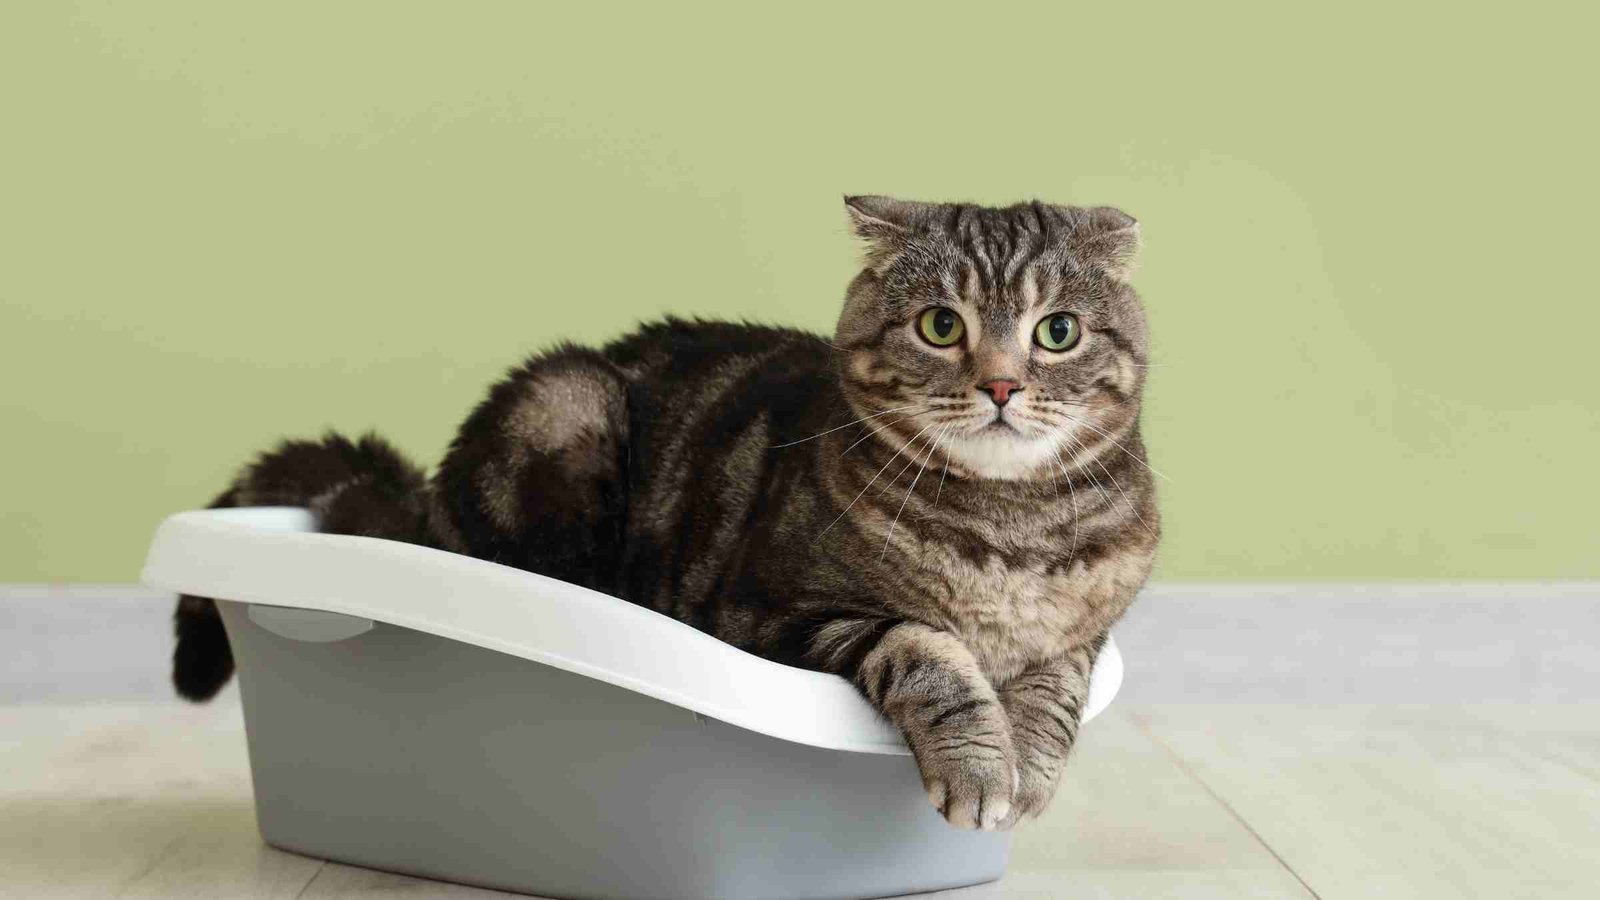
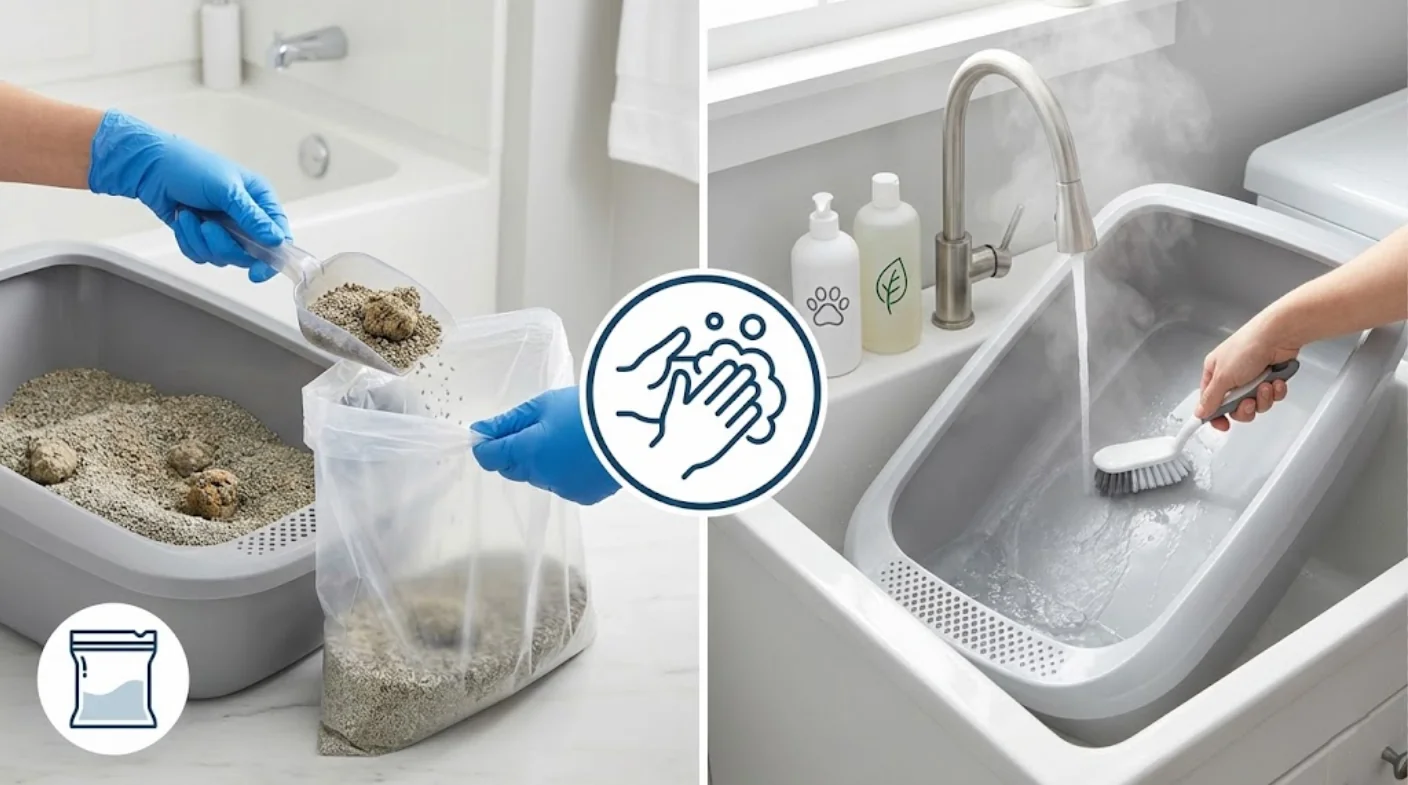
Step 3: Litter box hygiene (prevent reinfection + reduce household risk)
Why this prevents worms: Worm eggs and parasite stages are shed in feces. The prevention goal is to remove stool before it can contaminate the environment and to keep the box clean enough that your cat isn’t repeatedly exposed. Good sanitation and daily litter box cleaning are specifically called out as key for controlling certain feline intestinal parasites.
Do this (simple routine that works)
Scoop at least once daily (twice daily in multi-cat homes). Daily removal is repeatedly recommended as a core sanitation measure.
Bag and seal waste before putting it in the trash (don’t compost cat feces).
Wash hands after scooping or cleaning, and consider disposable gloves (especially if you’re cleaning diarrhea, handling kittens, or you have small children in the home).
Keep a litter-tracking mat and vacuum around the box regularly to reduce spread of contaminated dust/grit.
Weekly deep-clean (prevents “build-up” contamination)
Empty the box completely and scrub with hot water + detergent.
Disinfect regularly using a pet-safe disinfectant or diluted household bleach (rinse extremely well and let it dry fully before adding fresh litter). Regular disinfecting (including diluted bleach) and daily feces removal are recommended sanitation steps in feline parasite prevention guidance.
Replace badly scratched plastic boxes when you can—scratches hold residue and are harder to sanitize.
Timing matters (why daily scooping helps)
Many parasite eggs need time in the environment to become infective. For example, CDC notes Toxocara eggs can take 2–4 weeks in the environment to develop enough to cause infection and can persist for long periods.
Bonus household safety: some non-worm parasites (like Toxoplasma) require at least 24 hours after being shed to become infective—so frequent removal also reduces that risk.
Avoid these common mistakes
Letting stool sit for days (this increases environmental contamination and reinfection risk).
Cleaning litter tools in the same sink area as food/dish washing.
Skipping sanitation after a known infection—reinfection loops are common if the environment isn’t cleaned consistently.
If you have multiple cats
Avoid overcrowding and keep sanitation tight—overcrowding is a known factor that makes parasite control harder.
If one cat has worms, treat it like a “household hygiene event”: scoop more often, deep-clean weekly, and follow your vet’s plan for the other pets.
After deworming (important)
For several days after treatment, scoop promptly and keep the box extra clean—this helps remove expelled worms/eggs and reduces the chance of re-exposure.
TL;DR: Scoop daily + deep-clean weekly + wash hands.
Step 4: Reduce exposure to prey, pests, and contaminated outdoor areas
Why this prevents worms: Many worm infections are picked up through exposure—especially when cats hunt and eat prey, ingest infected fleas, or interact with contaminated soil/feces outdoors. Your goal is not to “control nature,” but to reduce the highest-risk contact points.
Do this (highest impact first)
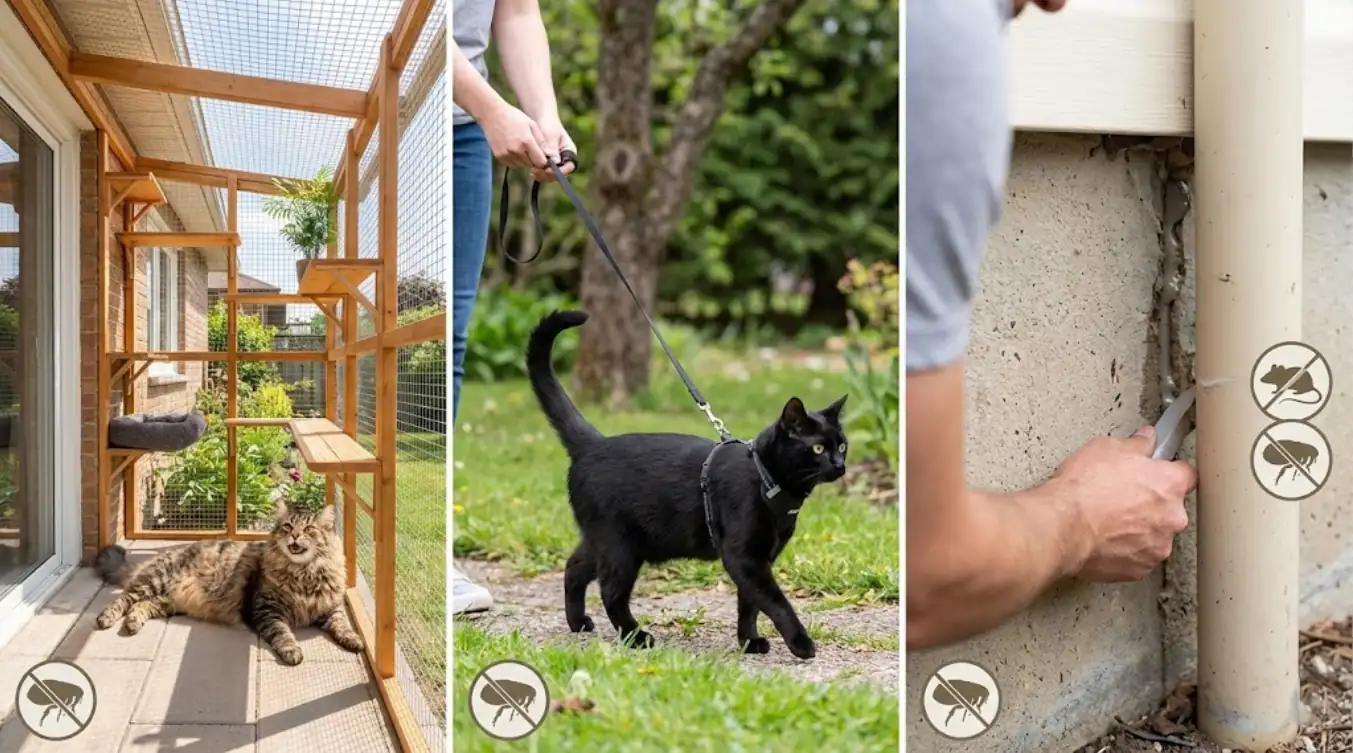
Prefer indoors when possible, or allow outdoor time only in controlled ways:
Build or use a catio (enclosed run), screened porch, or secure balcony setup.
Use a harness + leash for supervised outdoor time.
Reduce hunting opportunities:
Avoid letting cats roam at dawn/dusk when prey activity is highest.
Keep outdoor time short and supervised rather than “free roaming.”
Treat your cat as high-risk if they hunt:
If your cat catches prey (mice, birds, lizards), they should be considered higher exposure, which affects Step 1 scheduling (link to your Step 1 section anchor here).
If your cat is a hunter (practical prevention plan)
Assume hunting = ongoing exposure and adjust your prevention routine:
Be more consistent with flea prevention (tapeworm route) and follow your vet’s risk-based parasite plan.
Don’t “wait for symptoms”—worms can be present without obvious signs.
Remove prey promptly (gross but effective):
If your cat brings prey home, remove it quickly and clean the area so your cat doesn’t snack on it later.
Collar/bell note (optional):
A bell may reduce hunting success, but it’s not reliable for all cats. If you use a collar, use a breakaway collar only for safety.
Home pest control (prevents “accidental hunting” indoors)
Pest-proof your home to reduce indoor prey exposure:
Seal gaps, repair screens, block basement/garage entry points.
Store pet food securely; clean up crumbs to avoid attracting rodents/insects.
If pests are present:
Use cat-safe pest control methods and keep your cat away from treated areas.
Avoid leaving poisoned rodents accessible (secondary risks). If hiring help, tell them you have cats so they can choose safer methods.
Yard and garden prevention (reduce contaminated areas)
Remove feces from yards regularly (use gloves or a dedicated scooper).
Discourage toileting in gardens:
Use fencing, covers, or motion sprinklers to deter stray cats.
Protect kids’ play areas:
Keep sandboxes covered to prevent animals from using them as litter boxes.
If you grow vegetables:
Keep cats out of garden beds to reduce contamination risk.
Avoid these mistakes
Allowing “free roaming” while assuming prevention is optional—exposure drives reinfection.
Ignoring garages/basements where pests live (high “accidental hunting” zones).
Using non-breakaway collars or unsafe pest-control products around cats.
Takeaway: If you reduce hunting and pests, you reduce exposure—and exposure is the driver of most repeat worm infections.
Step 5: Reduce parasite contamination at home (lower reinfection risk)
Why this prevents worms: Many intestinal parasites spread through contact with contaminated feces or environments. You can’t “sterilize” a home or yard perfectly (some eggs can persist a long time), but you can reduce the parasite load and reinfection risk with consistent cleaning and prompt waste removal.
Your weekly routine (10–20 minutes)
Do this (checklist):
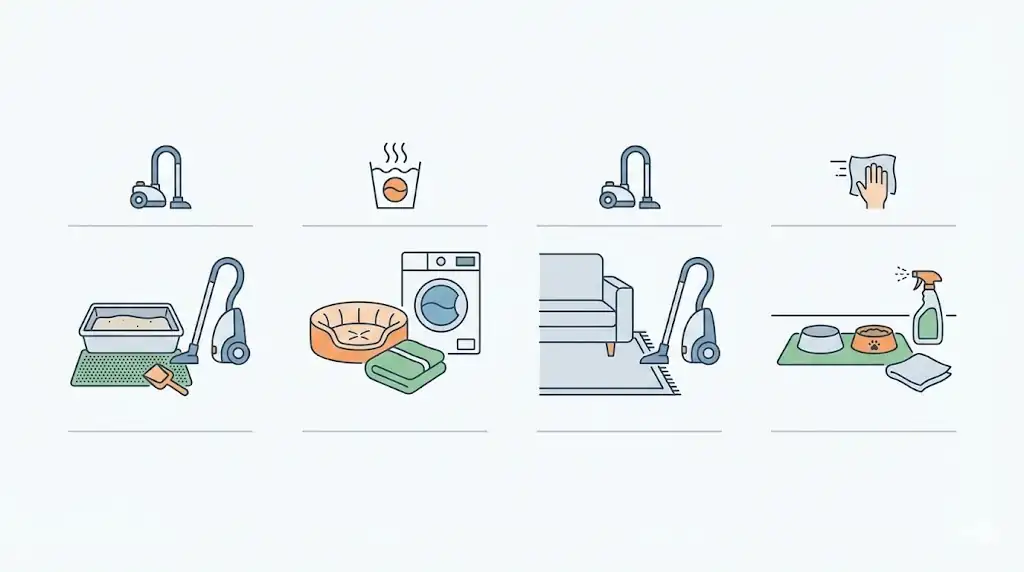
Wash cat bedding on hot cycle (or the warmest safe setting) and fully dry.
Vacuum high-traffic cat areas: around the litter box, favorite sleeping spots, rugs, and sofas/chairs your cat uses.
Wipe hard floors near the litter box and feeding area (pet-safe cleaner + hot water).
Clean “butt-level” surfaces your cat contacts often (cat tree platforms, window perches, carriers).
Avoid these mistakes:
Only cleaning the litter box itself but ignoring the 1–2 meter zone around it (tracked litter/dust is where contamination often spreads).
Deep cleaning once, then stopping. Consistency beats intensity for prevention.
Yard / outdoor areas (if your cat goes outside)
Do this (checklist):
Pick up pet feces promptly from yard/garden areas (reduces environmental spread before eggs disperse).
Cover sandboxes when not in use to prevent animals from using them as toilets.
If you use outdoor feeding/water stations: wash bowls daily and refresh water frequently (simple hygiene, especially in warm months).
“After worms” protocol (first 7–14 days after treatment)
Use this if your cat was diagnosed with worms or you’ve seen tapeworm segments.
Do this (checklist):
Increase cleaning frequency for two weeks:
vacuum every 2–3 days in cat areas
wash bedding at least weekly (or more if soiled)
Clean litter box area more often (floor/mat + nearby surfaces).
Dispose of feces promptly and keep handling hygienic (gloves + handwashing).
If fleas were involved (tapeworm risk): coordinate this step with Step 2 flea control so you’re not cleaning while fleas keep reintroducing the problem.
Avoid these mistakes:
Treating the cat but skipping environment cleanup (that’s how reinfection cycles happen).
Assuming normal cleaning products “kill everything.” The goal is remove contamination + reduce exposure, not perfect disinfection.
Next step: Household habits and pet coordination → go to Step 6.
Focus on litter-adjacent areas + bedding + soft surfaces, and remove feces quickly—that’s where prevention wins come from.
Step 6: Protect your household (hygiene + multi-pet prevention reduces spread)
Why this prevents worms: Worm prevention isn’t just about your cat—it’s about stopping eggs/larvae from spreading through hands, floors, yards, and other pets. Simple hygiene habits and keeping all pets on a coordinated prevention plan reduces reinfection and lowers household exposure.
Do this (household prevention checklist)
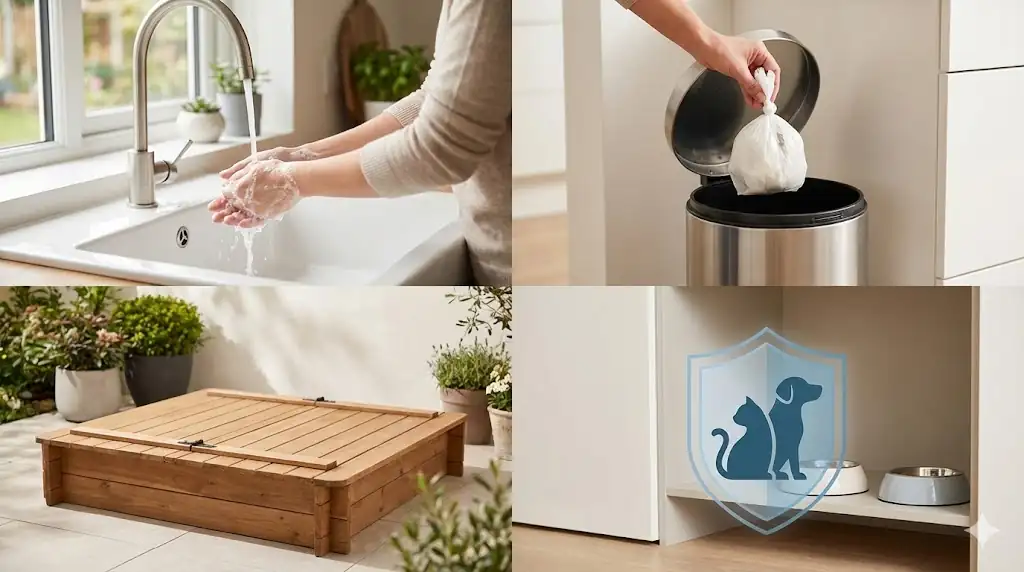
Wash hands after scooping litter, gardening, handling soil, or cleaning pet waste (especially before eating).
Use gloves for litter box and yard cleanup; dispose of waste in a sealed bag.
Clean litter tools safely: rinse scoops and trays in a utility sink or dedicated area (not where you wash dishes).
Keep shoes at the door (or wipe soles) to reduce tracking contaminated soil indoors.
Pick up dog waste promptly and keep dogs on parasite prevention too—shared environments can keep the reinfection cycle going.
Cover sandboxes and discourage animals from toileting in children’s play areas or veggie gardens.
Avoid barefoot walking in areas where animals may defecate (yards, parks, sand) to reduce skin contact risk.
Avoid these common mistakes
Letting only one pet stay on prevention while another pet “skips” it (reinfection risk rises).
Assuming indoor cats = zero risk (fleas, bugs, and tracked-in soil can still introduce parasites).
Cleaning litter tools near food prep areas or storing them next to kitchen items.
If you have children, are pregnant, or are immunocompromised
Teach kids: wash hands after outdoor play and keep fingers away from mouths when hands are dirty.
If you’re pregnant or immunocompromised, consider having someone else handle litter when possible, or use gloves + wash hands carefully.
If you have concerns about health risks, it’s reasonable to ask your vet about fecal testing frequency and household hygiene basics.
Household quick rule: If it can touch feces, soil, fleas, or prey, assume it can carry parasites. Your best defenses are handwashing, waste cleanup, and consistent prevention for every pet.
Conclusion: The Worm-Free Routine (simple habits that work)
A vet plan matched to your cat’s risk (prevention meds + fecal testing)
Parasite risk varies by lifestyle and local exposure, so the “best” plan is the one your vet tailors to your cat. Many guidelines recommend more frequent fecal testing in the first year and ongoing screening in adults based on risk.
Year-round flea control (key for tapeworm prevention)
Fleas are a common “middleman” for Dipylidium caninum (tapeworm). When cats groom and swallow fleas, they can become infected—so consistent flea prevention is one of the most practical tapeworm-prevention steps.
Daily litter scooping + basic hygiene (reduces exposure and reinfection)
Many roundworm eggs aren’t immediately infectious—they typically need time in the environment to develop. Removing stool promptly and washing hands after litter duty lowers the chance of accidental exposure for both cats and people.
Bottom line: If you keep up these three habits, you’re doing the highest-impact work to protect your cat and your household—consistency beats intensity.
If you’d like, bookmark this routine and revisit it anytime your cat’s lifestyle changes (new kitten, outdoor time, hunting, fleas, travel).
We’d love to hear your story. Share your experiences and join our cozy community of cat lovers at SnuggleSouls—together, let’s celebrate every precious, whiskered moment.
FAQ
Do indoor cats really need worm prevention?
Yes. Even indoor cats can get worms through fleas, human shoes, or bugs. Risk may be lower, but not zero.
What’s the safest deworming schedule?
Consult your vet, but generally every 3 months for high-risk cats; once or twice a year for low-risk indoor cats.
Are flea collars enough to prevent tapeworms?
Not always. Only collars that kill fleas consistently will help. Choose products labeled for cats only.
Can I use dog flea/tick products on my cat?
Absolutely not! Many dog products (especially permethrin-based) are toxic to cats. Always use feline-specific treatments.
Can humans catch worms from cats?
Some worms (like roundworms and hookworms) can infect people, especially children or immunocompromised individuals. Handwashing is key!
References
Companion Animal Parasite Council (CAPC). General Guidelines for Dogs and Cats.
Companion Animal Parasite Council (CAPC). Dipylidium caninum (flea tapeworm) Guidelines.
Centers for Disease Control and Prevention (CDC). DPDx—Dipylidium caninum.
MSD Veterinary Manual (Merck). Fleas in Dogs and Cats.
Centers for Disease Control and Prevention (CDC). DPDx—Toxocariasis.
Cornell University College of Veterinary Medicine / Cornell Feline Health Center; American Association of Feline Practitioners (AAFP). Gastrointestinal Parasites of Cats—Brochure.
Cornell University College of Veterinary Medicine / Cornell Feline Health Center. Gastrointestinal Parasites of Cats.
Companion Animal Parasite Council (CAPC). Toxoplasma gondii Guidelines.
American Society for the Prevention of Cruelty to Animals (ASPCA). The Essentials of Essential Oils Around Pets.
European Scientific Counsel Companion Animal Parasites (ESCCAP). Scheme for individual deworming of cats.
International Cat Care (ISFM). Permethrin Poisoning.